Introducing Wrike’s latest release: Datahub! Explore it today and stay ahead of the competition.

Streamline Data Operations with Wrike and Skyvia

Integrate Wrike with a wide range of cloud applications, data warehouses, and relational databases.

  • Exporting/Importing

  • File Storage

  • ETL

<p><span>Streamline Data Operations with Wrike and Skyvia</span><br></p>

Maximize valuable resources and eliminate repeated work

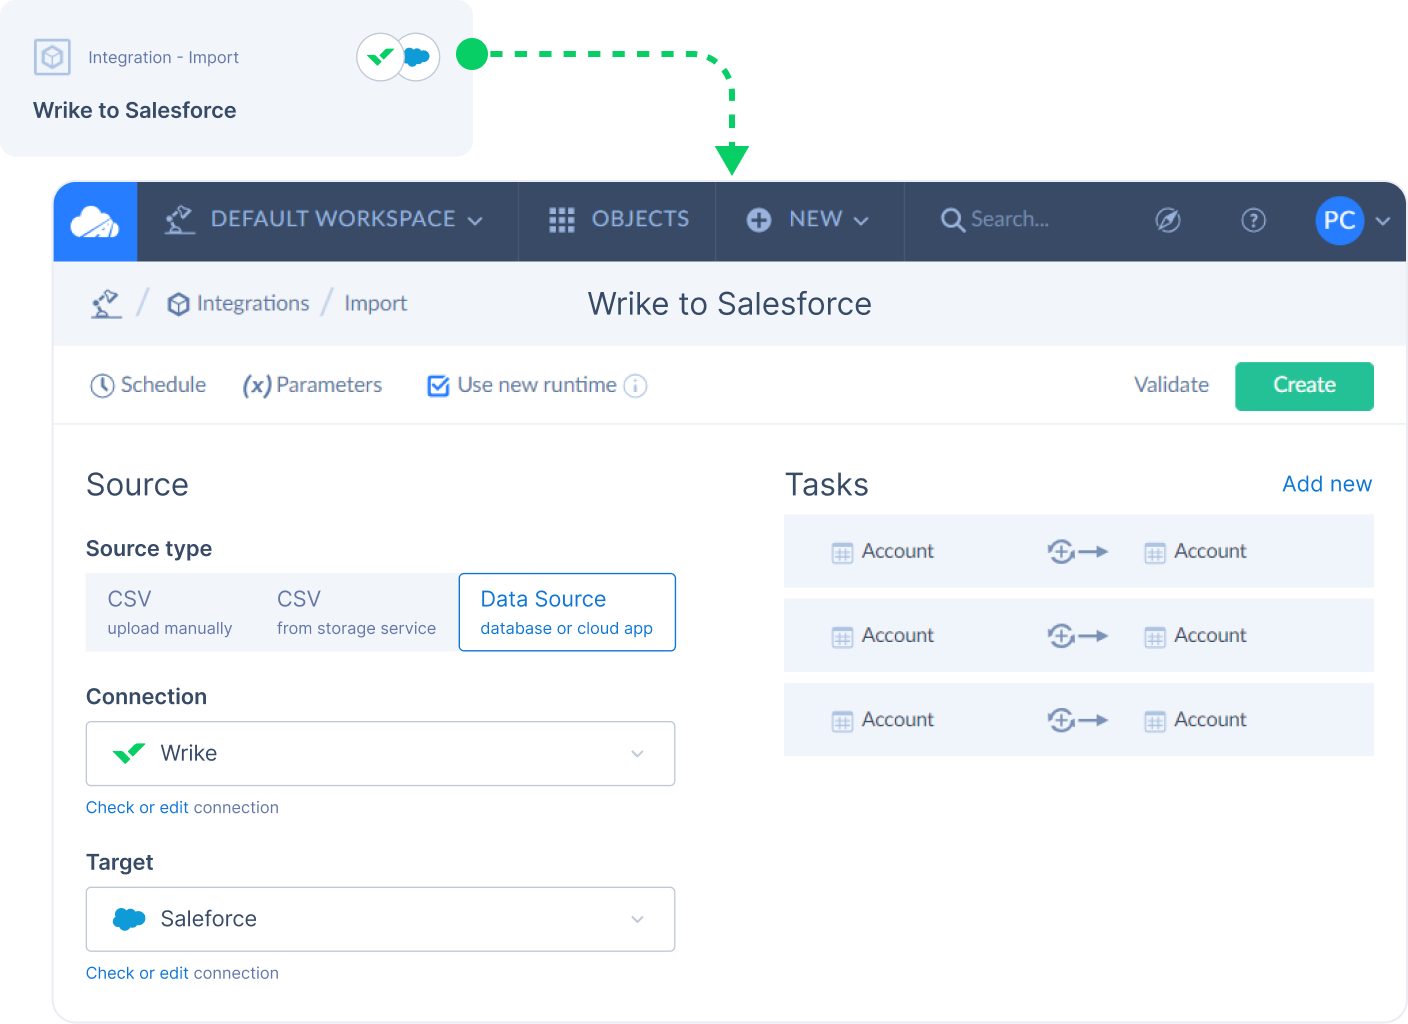
Capitalize on Wrike’s biggest assets: powerful automation and synchronization. Use the Skyvia integration to ensure data is replicated and updated, saving your team time.

<h5>Automate data loading to and from Wrike<br></h5>
Automate data loading to and from Wrike
<h5>Replicate Wrike data to relational databases<br></h5>
Replicate Wrike data to relational databases
<h5>Synchronize Wrike data with cloud apps and relational databases<br></h5>
Synchronize Wrike data with cloud apps and relational databases
<h5>Automate data flows <br></h5>
Automate data flows

Skyvia is a no-code cloud platform for solving a wide variety of data-related tasks with support for all major cloud apps, data warehouses, and databases. 

The platform provides seamless data management and supports a wide variety of data integration scenarios including ETL, ELT, reverse ETL, data migration, one-way and bi-directional data sync, workflows automation, etc. 

With Skyvia, users can unlock the full potential of Wrike and streamline their data operations effortlessly.

Connect your Skyvia and Wrike project 

To start using the Skyvia and Wrike integration, follow these steps in your Skyvia plaform:

  1. Click +NEW in the top menu.
  2. Click Connection in the menu on the left to open the Select Connector page.
  3. In the opened pane, click Wrike.
  4. In the Connection Editor page, specify a connection name that will be used to identify the connection.
  5. Click Sign In with Wrike.
  6. In the opened window, enter your email and password used when signing in to Wrike.
  7. Click Accept to give permission to Skyvia.
  8. This will generate the authentication token.
  9. Optionally, you can select the Suppress Extended Requests checkbox to reduce the number of API calls. Read more about this option to determine if it fits your needs.
  10. Use the Test Connection button to make sure that the connection is successful, then click Create Connection.
Screenshot Apps Skyvia From Wrike 2x 1Screenshot Apps Skyvia From Wrike 2x 1

For a detailed walkthrough on how to set up your first connection, read the instruction on specific Skyvia documentation.

Connect Wrike with Skyvia

Sign up for a free two-week trial of Wrike today — no credit card required.

FAQ

Discover Wrike’s integration solutions

Use our smart search assistant to explore how Wrike’s integrations can optimize your productivity.

Try asking:

Wrike enhances its website search experience using Google's Vertex AI Search and Conversation generative AI service. Users are cautioned that generative AI might produce inappropriate, inaccurate, offensive, or unintended results, and are advised against submitting explicit, harmful, offensive, or illegal content as search input. Neither Wrike nor Google uses your search inputs to train its machine learning models or for advertising purposes, but search activities may be collected and/or stored via cookies in accordance with our Privacy Policy if you previously registered on our website. These cookies can be deleted through your browser settings. Wrike's search service is not designed to be used in connection with your personal data or any sensitive data of any kind, which users must refrain from inputting.